Planning a Peula
Create a new Peula
Start a Peula from the dashboard, choose who it is for, and connect it to an event when needed.
At a glance
- 1Choose New Peula from the dashboard action area.
- 2Enter a clear title, then choose Next.
- 3Choose My Tzevet, People, or No one for now. My Tzevet puts the Peula prominently in your tzevet first. Later, shevet members who can see that tzevet and are not hidden from it may find and view the Peula in the shevet archive. Viewing it alone does not grant editing access; editing follows their role and sharing permissions.
- 4People keeps the Peula yours and shares it only with the individuals you select, rather than with the whole tzevet. You can select members of this shevet or someone in another shevet and choose their destination shevet. No one for now keeps it private to you. You can change sharing later in the editor.
- 5Choose a calendar event for the Peula. If it does not exist yet, use Create event directly in this New Peula flow, or create it first from the Calendar tab and then select it here. Choose no event only when the Peula does not need a scheduled date.
- 6Choose Create Peula to open the new plan in the editor.
Step-by-step walkthrough
1.Start in the correct shevet
Choose who will see the new plan before writing it. A private draft, a tzevet plan, and a plan shared with specific people have different audiences.
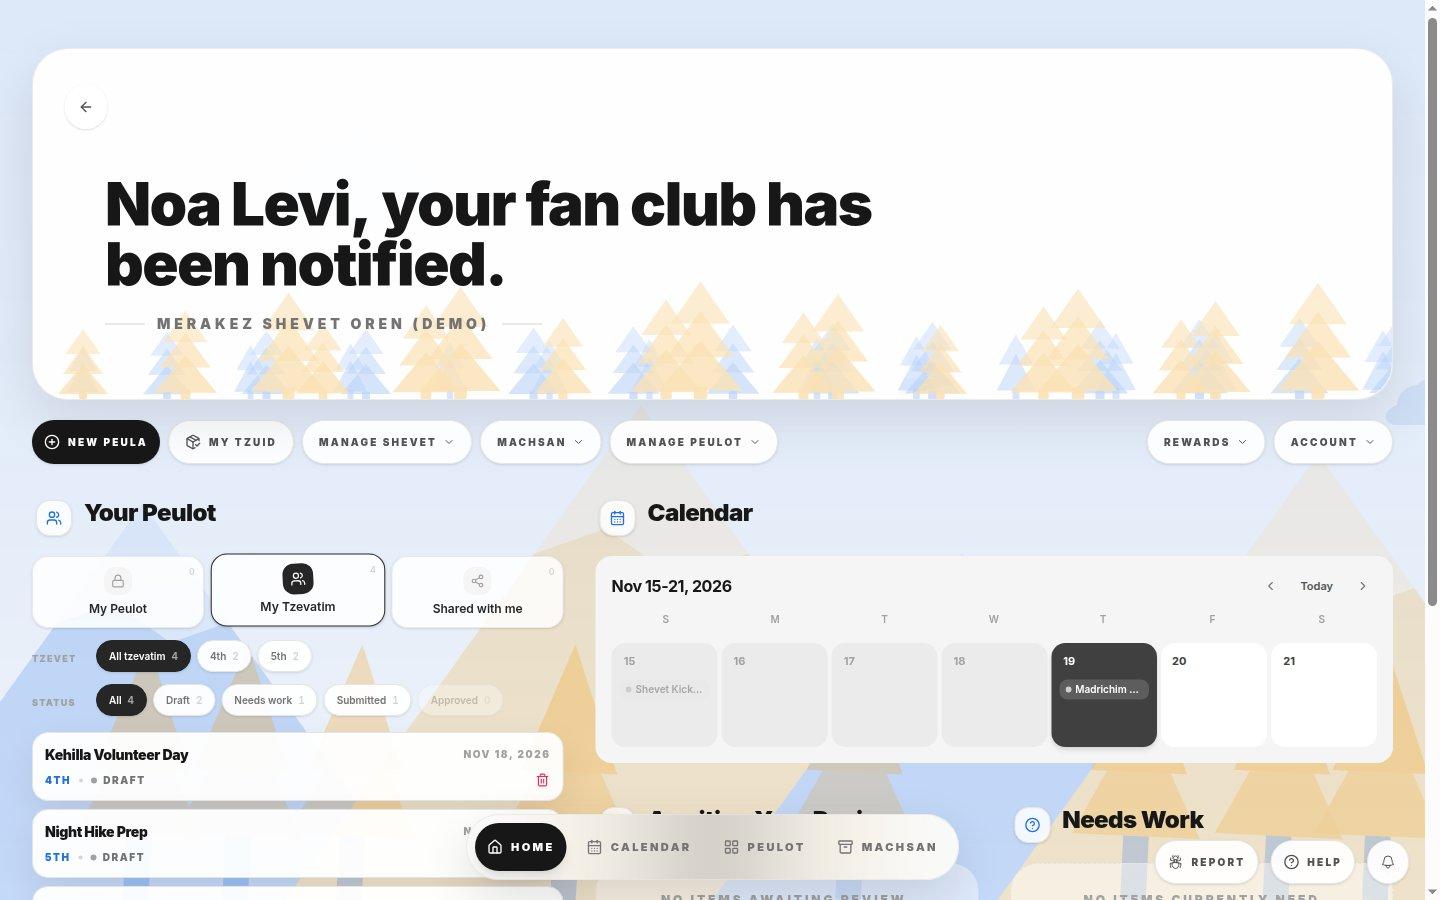
- New PeulaStart a plan here; confirm that the workspace in the banner is the one you want.
- Find the draft againMy Peulot finds plans you own; My Tzevatim finds plans attached to your tzevatim.
- 1Select New Peula and enter a recognizable title, such as a topic plus the group name.
- 2Choose a tzevet or specific people only if they should have access; otherwise leave the plan private.
- 3Create the plan, add the first activity in the editor, and check the save indicator before leaving.
If you cannot do this
- New Peula is not available in an archived shevet.
- A title is required before you can continue from the first step.
- You must complete the audience choices required by the sharing option before creating the Peula.
Where to look
New Peula
the dashboard action area near the top of the Home tab