Working together
Create an Assignment
Create the assignment from the dashboard, then use its separate workspace to build and deliver the work.
At a glance
- 1On the Assignments page, choose New Assignment.
- 2Enter a clear title and choose the assignment type that matches the work you are assigning.
- 3Set a due date when the work has a deadline, then choose the intended grade recipients.
- 4Create the assignment and confirm its card appears in the dashboard with the expected recipients and date.
- 5Open the card afterward to work in the assignment workspace; this guide intentionally covers only creating and locating the assignment.
Step-by-step walkthrough
1.Start a template without assigning it
Creating an assignment makes a template. Sending copies to recipients is a separate action in the template editor.
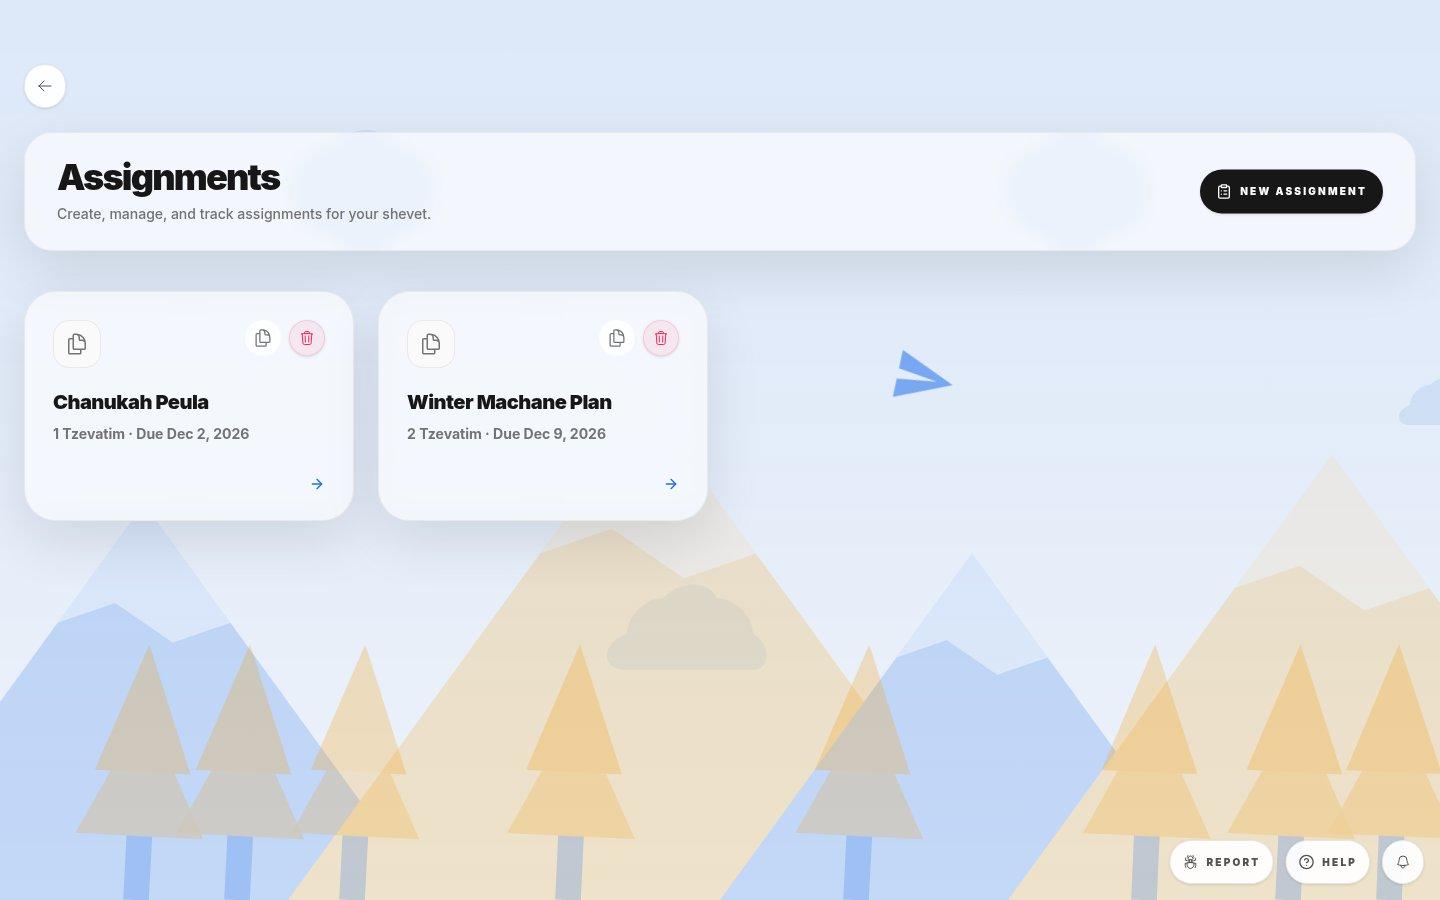
- New assignmentOpen the creation dialog and choose what kind of plan the template should hold.
- New draft cardFind the draft by its title when you want to continue writing.
- 1Select New Assignment and choose Peula or Machane depending on what recipients need to plan.
- 2Give the template a descriptive title. Set a due date when the work should be submitted by a specific day.
- 3Create the draft and open it. Write the instructions and the starting material recipients will copy before selecting Assign Work.
If you cannot do this
- Creating assignments requires assignment-management permission.
- New Assignment is unavailable in an archived shevet.
Where to look
New Assignment
the Assignments page header