Getting started
Create a shevet
Set up a new Campfire workspace with its identity, teams, and roles.
At a glance
- 1From the main dashboard, choose Create shevet.
- 2Enter the shevet name in English and Hebrew, then choose its year.
- 3Choose the workspace's primary and secondary colors.
- 4Choose the grades and roles the shevet will use, then review the ready screen.
- 5Choose Create shevet to finish and open the new dashboard.
Step-by-step walkthrough
1.Name and set up a new shevet
Use Create shevet only when you need a separate workspace, not when you are joining a shevet that is already in Campfire.
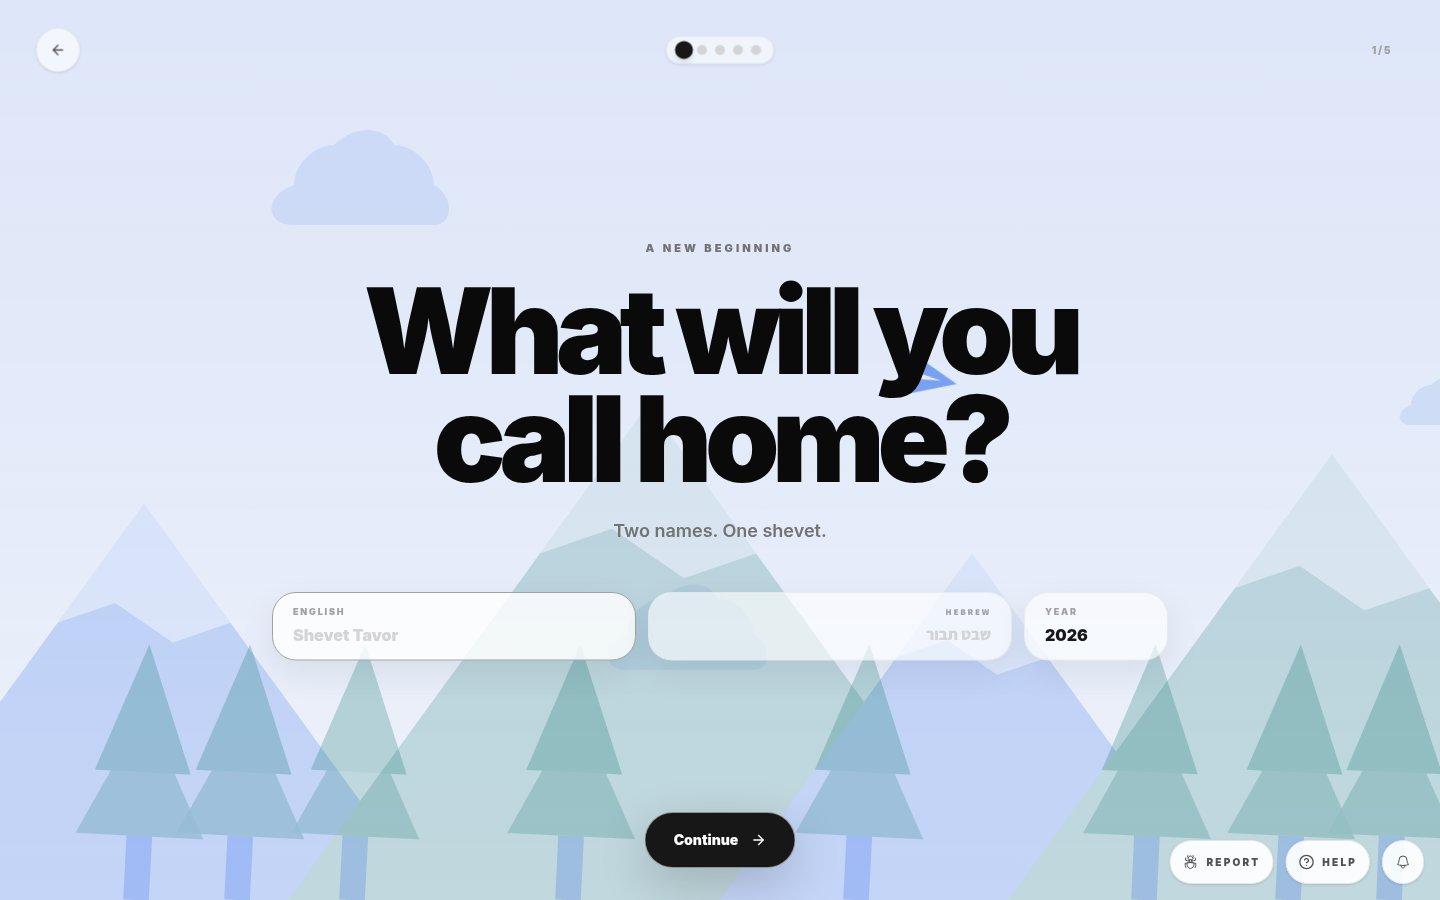
- Two namesEnter the display names in English and Hebrew so each interface shows the appropriate one.
- Workspace yearChoose the year this workspace is for; members will see it on the workspace card.
- ContinueMoves to the next setup step; it does not create the shevet yet.
- 1From Your Shevatim choose Create shevet and fill in both names and the year.
- 2Continue through the setup screens. Review the tzevatim and appearance before confirming.
- 3Finish creation and verify the new shevet appears with the intended year. Manage its members and invites from Manage Shevet.
If you cannot do this
- Only approved accounts can create shevatim.
- Both the English and Hebrew names are required before you can continue from the first step.
Where to look
Create shevet
the action cards below the workspace list on the main dashboard